Guides
How to measure dress straps without mixing up the lengths
Measure a dress strap along its usable path between the named front and back attachments. Record which strap you measured, its adjustment setting and whether hardware is included. Compare only matching methods; a fabric cutting length or a shoulder-to-hem dress length answers a different question.
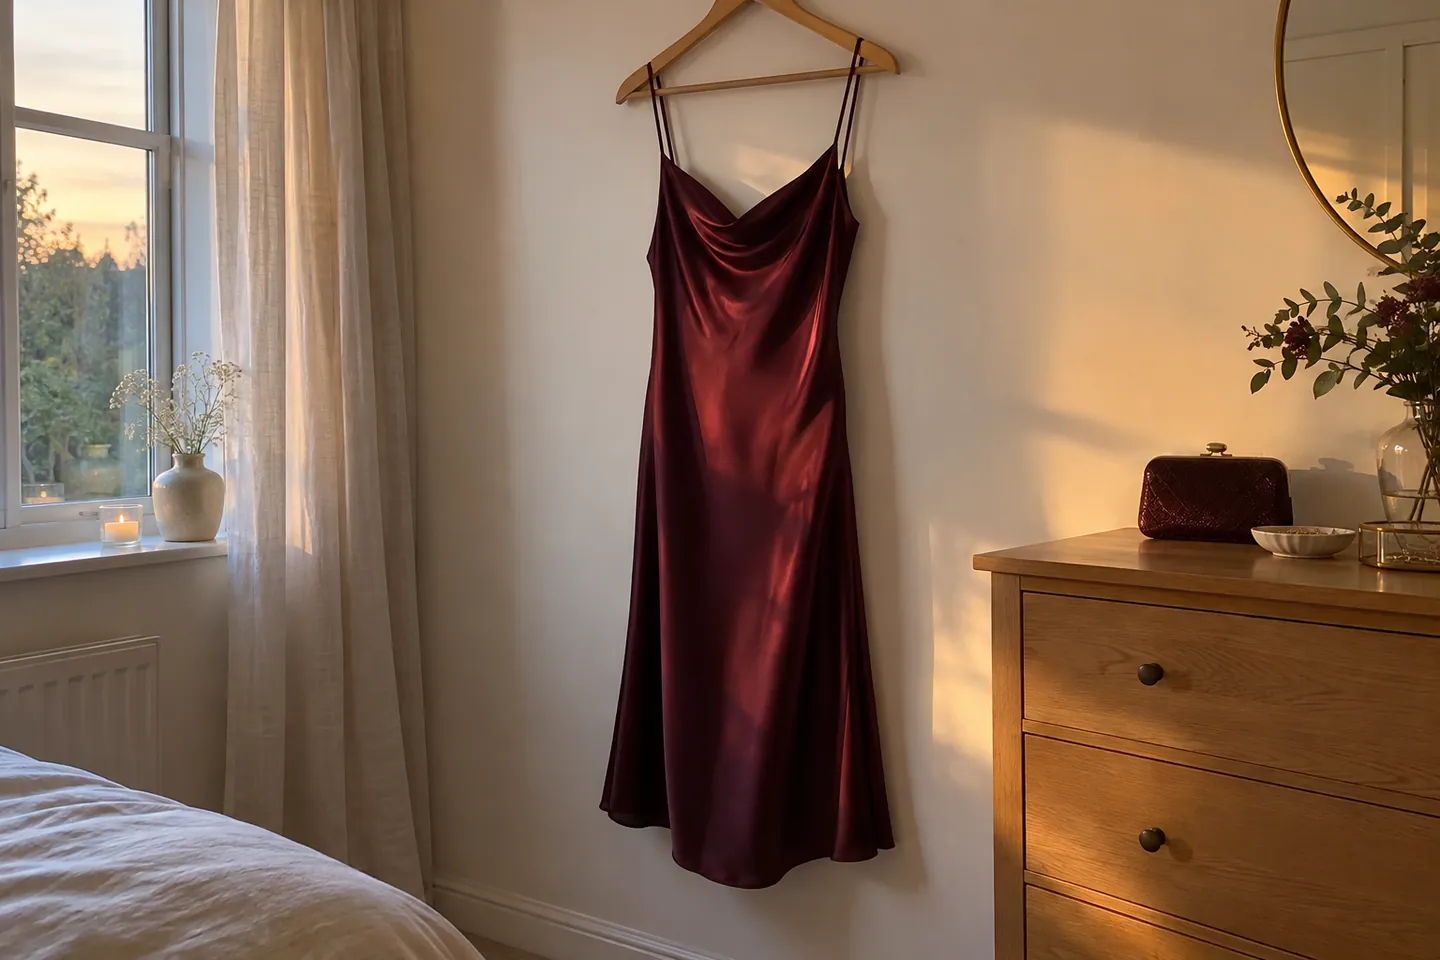
A strap measurement is useful only when the route is named. A listing might describe the usable distance between attachments, the whole strip of fabric before assembly, or a dress length that starts at the shoulder. Those numbers cannot be substituted for one another. This guide is for comparing a finished dress, not drafting a pattern or diagnosing a fit problem from a photograph.
Where do you start and stop?
Identify the front and back attachment points on the particular dress. For a simple fixed strap, ask whether the measurement runs between the visible attachment seams or includes a ring, tab or another component. Follow the seller’s stated method. If none is given, agree on the route before exchanging numbers.
Label the left and right straps separately if their construction or setting differs. A crossed-back strap must be followed to its actual attachment, rather than measured as though it went straight over the shoulder. A halter or tied strap needs its own named endpoints and wearing arrangement.
Which construction are you checking?
Open your case before measuring. These local notes do not choose a size or store a measurement.
A fixed strap with clear attachments
Name the two endpoints and any hardware included. Follow that route without adding material hidden inside the garment.
An adjustable strap with a slider
Record the setting first. Ask whether the seller gives the current usable length or its available adjustment range.
A crossed, halter or tied strap
Ask for a route photograph and the wearing arrangement. Leave the value unknown until you can identify the intended endpoints.
How do you measure without changing the setting?
Lay the dress on a clean, level surface and arrange the strap so its path can be followed. Use a flexible tape without stretching the strap or dragging the bodice into position. Keep an adjustable slider where it was when the reference dress fitted comfortably, and note that setting before handling it.
Read the agreed route, record the unit and repeat. If the readings disagree, check that the slider, attachments and tape path stayed the same. Do not average two different methods. A photo showing the endpoints can clarify a listing more effectively than another unlabeled number.
Is the adjustable length the same as the fabric length?
The usable route of an assembled strap differs from the fabric needed to make it. Material can pass through a slider, turn around a ring and overlap inside the attachment. The At The Seams adjustable-strap tutorial shows that construction. Its cutting allowances belong to that project; they are not additions to a finished-dress reading.
Likewise, Working Wardrobe’s strap project checks the intended position before securing the final attachment. Use that distinction when asking a seller for a current setting, a range or a construction length.
What should you request from the seller?
Ask for the missing method before comparing your dress with the listing. Copy this request and fill only the relevant parts: “Is this the finished left or right strap length, between which attachments, at what slider setting, and does it include the hardware? Could you show the tape route?”
| Label | What it answers |
|---|---|
| Finished strap | The named attachment-to-attachment route at a recorded setting |
| Cut fabric | Material for a particular construction, including its specified allowances |
| Shoulder to hem | A dress-length convention, not an isolated strap dimension |
What prevents a fair comparison?
The listing gives a number without endpoints
Request the attachment points and a route photograph. Keep the comparison pending rather than borrowing another brand’s method.
The endpoints match, but the setting is unknown
Ask for the slider position or clearly defined usable range. Matching units cannot resolve a missing adjustment setting.
The methods match, but the dress is untried
Check the rest of the dress and its return conditions. A comparable strap number does not prove neckline, armhole or bodice comfort.
Does a matching strap length prove the dress will fit?
Fit also depends on the bodice, neckline and the intended way of wearing the dress. Try normal sitting and reaching movements before agreeing to a permanent alteration. If adjusting a strap changes where the waist or neckline sits, assess those areas together rather than treating the hem as the only result.
Use the party-dress guide for the wider outfit decision, the dress measurement guide for body dimensions and the shoulder-to-waist guide for torso routes. Windsor’s official length instructions illustrate why a seller’s starting point matters; they do not establish a universal strap method.
Questions about dress-strap measurements
Should you include the ring or slider?
Follow the stated method and record whether hardware is included. Ask when the listing does not identify its endpoints.
Do both straps need the same setting?
Do not infer that from appearance. Record each relevant setting and check the garment on the person who will wear it.
Can you measure a stretchy strap under tension?
Only compare readings taken under the same stated conditions. Do not stretch it simply to make the numbers agree.
Is strap length part of hollow to hem?
They describe different routes. Hollow to hem starts at the throat hollow; an isolated strap reading follows its named attachments.
Should you add sewing allowance to the measurement?
A finished-garment comparison does not need a guessed cutting allowance. A sewing project must follow its own pattern instructions.
Can this guide tell you how much to shorten a strap?
It helps label a measurement, not calculate an alteration. Check the whole fit and construction before a permanent change.
Keep reading
PartyParty Dresses: How to Pick the Right Cut, Length and Fabric
Choose a party dress by occasion, cut, length and fabric. A practical guide with an interactive finder and fit notes for evenings out.
 Guides
How to Measure Yourself for Dresses and Jumpsuits
Measure bust, waist, hip and length correctly, then use the size calculator to find the size range to start with for dresses and jumpsuits.
GuidesShoulder to Waist Measurement: A Clear Guide for Dresses
Learn where to start and end a shoulder-to-waist measurement, distinguish front and back routes, and ask your dressmaker the right questions.