Guides
Shoulder to Waist Measurement: A Clear Guide for Dresses
Shoulder to waist is a vertical measurement from a specified shoulder point to the requested waist point. Ask your maker which route to follow, whether to measure front or back, and whether the number describes your body or a finished garment.
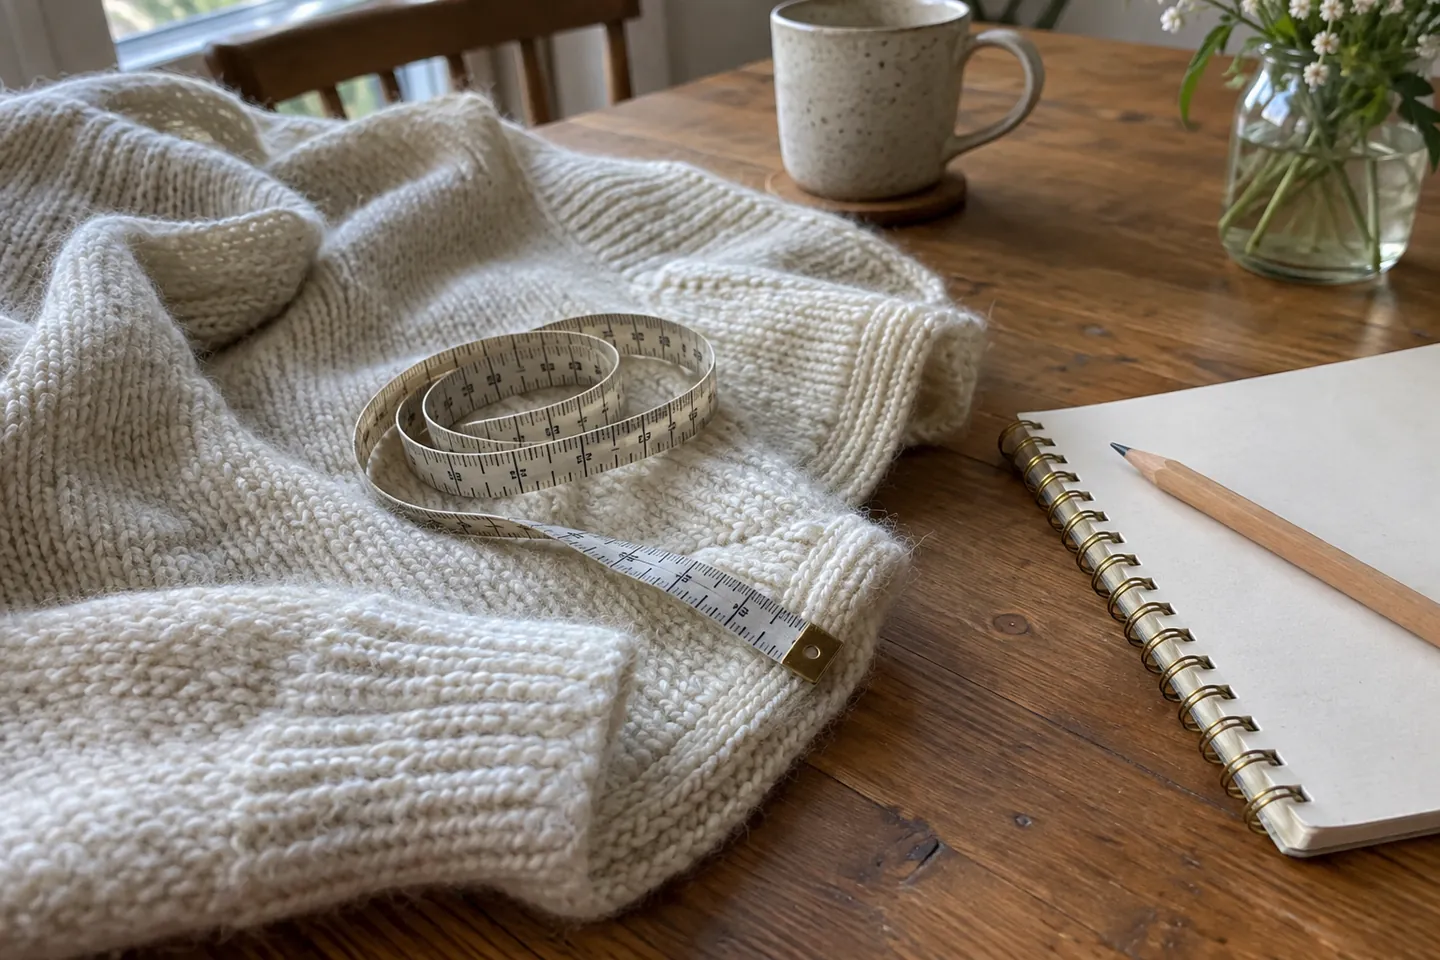
What is a shoulder-to-waist measurement?
A shoulder-to-waist measurement records a vertical route from a specified point on your shoulder to your waist. It can help a maker place the waist on a dress, but the route is only useful when both of you use the same starting point, ending point and method. Ask for those details before you measure.
Some makers start at the shoulder where it meets the neck; others use the center of the shoulder. A front measurement may travel over the fullest part of the bust. A back measurement may instead start at the nape. These are not interchangeable readings.
Ask the dressmaker four questions first
- Do you need a measurement of my body or of a finished garment?
- Where exactly does the tape start, and where should it finish?
- Should the tape follow the body over the bust or take another path?
- Which units and undergarments should I use?
Save the instructions with your reading. If the order form says only “bodice length,” send a short message before entering a number. The ACTRA Toronto measurement guide lists front shoulder-to-waist and back nape-to-waist separately, illustrating why the label matters.
How do you measure your front shoulder to waist?
Use a flexible, nonstretch tape and, if possible, ask someone to help. Wear the undergarments you plan to use with the dress. The New Mexico State University fitting guide recommends normal posture and a helper for body measurements.
- Stand naturally on a level floor. Breathe normally and let your shoulders relax.
- Find the maker's specified point on your shoulder. Mark its location mentally or ask your helper to keep a finger there.
- Identify the requested waist point. A narrow ribbon tied comfortably around your natural waist can make the endpoint easier to locate; it is a reference, not a request to tighten your body.
- Guide the tape along the exact route the maker describes. If their method passes over the fullest part of the bust, let the tape follow the body without pulling it tight.
- Read the tape at the waist reference, record the number and units, and repeat from the starting point. If the readings differ, check the route and posture before taking another reading.
Record what the tape actually reads. Do not add a personal allowance unless the maker explicitly asks you to. If the intended dress has an empire waist, a drop waist or no waist seam, ask how the designer uses the measurement; a natural-waist body reading does not require every dress to have a seam there.
Which length are you being asked for?
| Label | What to clarify | Why it matters |
|---|---|---|
| Front shoulder to waist | Shoulder point, route across the front, waist endpoint | The route may pass over the bust. |
| Back shoulder to waist | Shoulder point and route down the back | It is a separate body reading, not a copy of the front. |
| Nape to waist | Neck reference and waist endpoint | The start is at the back of the neck, not necessarily on the shoulder. |
| Flat garment bodice length | Which seam and waist point to use on the garment | It describes a finished piece rather than a body route. |
| Hollow to hem | Hem endpoint and footwear instructions | It starts at the throat hollow and describes length toward the hem. |
For the last route, use the separate hollow-to-hem guide. A long or short hem reading cannot tell you where the bodice waist will sit.
Can you compare a dress you already own?
A similar dress that feels comfortable can be a useful reference, especially if the seller supplies finished-garment measurements. Fasten it, lay it on a flat surface and smooth the fabric without stretching. Viktr Martin's garment guide describes this type of flat measurement as a garment measurement.
Ask which shoulder and waist points the seller used before comparing. A shaped bodice, stretch fabric or different neckline can change the relationship between the flat garment and your body. Write “garment, laid flat” beside that number so it cannot be mistaken for your body measurement.
Open a measurement note you can copy
- Maker and dress: __________________
- Body or garment: __________________
- Front or back; starting point: __________________
- Route and waist endpoint: __________________
- Reading and unit: __________________
- Undergarments and date: __________________
- Question to the maker: __________________
What if the waist seam looks too high or low?
First check whether the design is meant to sit at your natural waist. A deliberately raised or lowered seam is not automatically a fit defect. If the dress is designed for the natural waist and the seam shifts when you sit or reach, the issue may involve length, circumference, construction or a combination.
Try the dress with the intended undergarments and move in ways you normally do. Note where it pulls, gaps or settles; avoid diagnosing an alteration from a single number. A tailor can inspect the garment and tell you what its seams and allowances permit. For a one-piece outfit, the jumpsuit fit guide explains why joined bodice and trouser sections need room to move.
Questions before ordering
Should I measure over clothes?
Follow the maker's instructions. For a body reading, fitted undergarments usually give a clearer reference than bulky clothing, but the maker's specified method takes priority.
Are front and back waist lengths supposed to match?
They follow different routes and need not match. Record each requested value separately; do not copy one into the other field.
Can shoulder to waist replace bust and waist measurements?
No. It is a vertical route; bust and waist measurements describe circumferences. A maker may need all of them to assess a design.
What if the seller gives no endpoint?
Ask for a diagram or a written description of the starting point, route and endpoint before submitting the measurement.
Keep the measurement note with your dress and jumpsuit measurements. A clearly labeled reading is more useful to a maker than a number without its route.
Keep reading
GuidesHow to Measure Yourself for Dresses and Jumpsuits
Measure bust, waist, hip and length correctly, then use the size calculator to find the size range to start with for dresses and jumpsuits.
GuidesHollow to Hem Measurement: Check the Length Before You Order
Measure hollow to hem correctly, distinguish it from shoulder length and hollow to floor, and check whether your dress maker wants shoes or bare feet.
 Jumpsuits
 That Fit: How to Choose Rise, Leg Width and Fabric
How to pick a jumpsuit that fits: rise, leg width, fabric drape and waist. Includes a fit checker that suggests the cut for your proportions.