Guides
Assess a puckered dress seam before choosing a repair
Seam puckering is a repeated ripple beside a stitched line. Compare the dress supported flat and worn normally, then record when the change appeared. Sewing tension, fabric displacement, uneven feeding and differential shrinkage are possible causes; a photograph alone cannot identify the right repair.
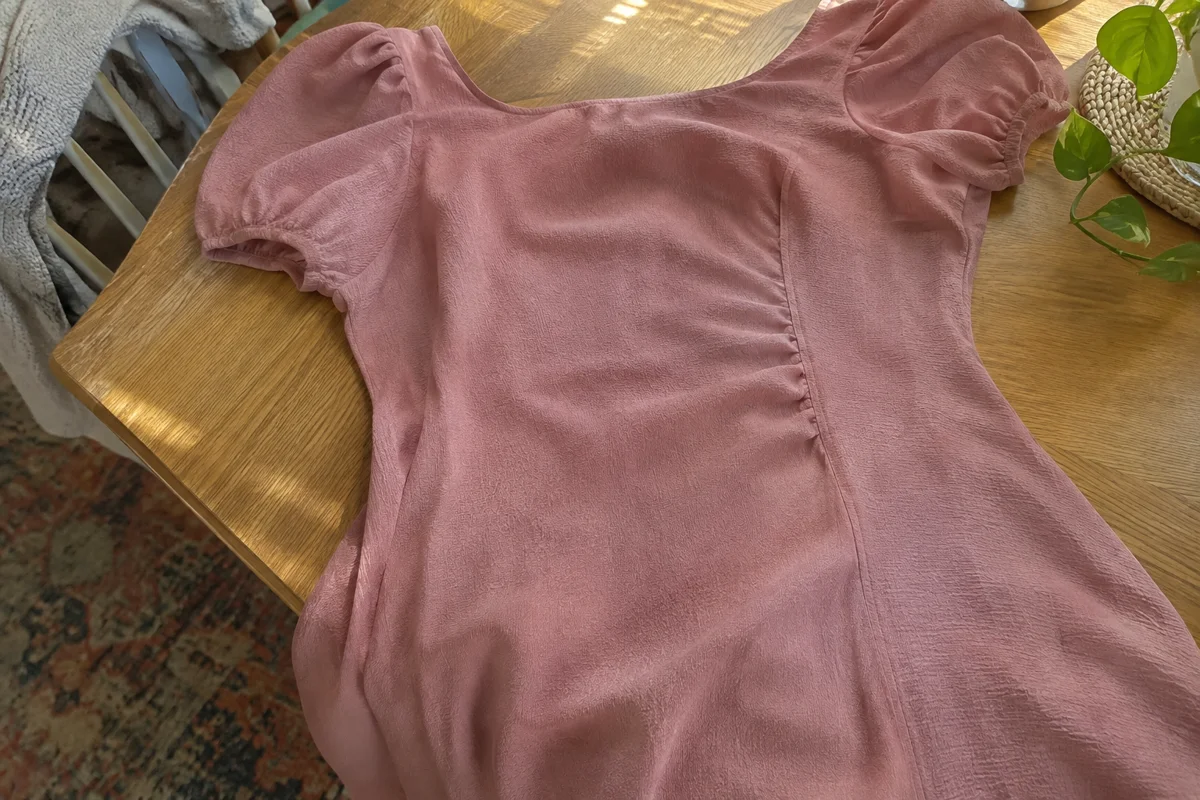
Seam puckering is a repeated ripple or gathering beside a stitched line. On a finished dress, first compare the seam supported flat and worn normally, then record whether the change appeared after cleaning or alteration. Thread tension, fabric displacement, uneven feeding and differential shrinkage are possible causes; a photograph cannot establish which one applies.
Is it a puckered seam or a dress pulling on the body?
Take the dress off and support it on a level surface without stretching the panels. Look along the seam in gentle side light. Note whether small repeated ridges remain when the garment carries no body tension. Then try it on with its intended undergarment and compare the same area. Avoid pulling the hem down or holding your breath to make the surface look smoother.
If ripples remain flat, the sewing or the materials deserve inspection. If a smooth seam develops drag lines only while worn, the garment's fit may contribute. Neither result is a complete diagnosis: an insertion problem and a fit problem can coexist. For a closure-specific wave, use the separate dress zipper observation guide, rather than treating every ripple as faulty hardware.
What can cause seam puckering?
Thread manufacturer American & Efird identifies several mechanisms in its technical bulletin on minimizing seam puckering: displacement of fabric yarns, sewing-thread tension, uneven feeding of layers and differential shrinkage. These are categories for technical assessment, not four causes you can reliably distinguish from an outside photograph.
| Observation | Record next | Do not assume |
|---|---|---|
| Ridges remain with dress supported flat | Seam location, fabric and recent alteration | That a larger size will remove them |
| Surface changes mainly when worn | Undergarment, stance and movement | That machine tension caused it |
| Puckering appeared after cleaning | Care method and first time noticed | That only the sewing thread shrank |
| One layer seems shorter or drawn up | Where lining and shell are connected | That cutting the visible layer fixes it |
Compare the matching seam on the other side if the dress has one. Differences can help locate a problem, but intentional asymmetry or different grain directions can change the comparison. In a princess-seamed bodice, shaped panels are meant to create volume. They should not be forced into a completely flat sheet to obtain a neat photograph.
Why does puckering sometimes show after washing?
A seam joins components that may respond differently to care. The A&E bulletin also explains that fabric finishes can initially mask tension-related effects. A seam that becomes visible after laundering therefore does not prove one specific shrinkage mechanism. Save what you actually know: the care label, method used, whether it was the first cleaning and the earliest photograph showing the change.
Do not wash an unknown dress again to test a theory. Follow its label and ask the cleaner or repairer to assess the materials. If the dress was newly altered, tell the alterations professional what changed and when. A precise history is more helpful than calling the entire garment defective on the strength of one seam.
Should you press or unpick it?
Pressing cannot be promised to remove puckering permanently. Heat and moisture can change delicate surfaces, and a smooth freshly pressed seam may behave differently after it cools or is worn. Avoid repeated hotter pressing while chasing a ripple. Ask for the appropriate method for the exact fabric and test any approved care treatment out of view first.
Some industrial diagnostic procedures involve clipping stitches in a sample. That is not a sensible first home test on the only finished dress you own. Keep structural seams intact while documenting the problem. If a repairer proposes opening a seam, ask how the allowance, lining and surface will be protected and whether old needle marks may remain.
For anyone sewing a separate sample, needle and thread choices also matter. SCHMETZ's needle FAQ lists puckering and fabric damage among signs that the needle needs attention. This supports checking the sewing setup on spare material; it does not identify the needle originally used in a purchased dress.
Prepare a five-line seam record
- Name the exact seam and where the ripples begin and end.
- Record the supported-flat view and the worn view separately.
- List the garment's fiber label, lining and care history without guessing missing details.
- Note the movement that changes the surface and whether a closure works freely.
- Ask the repairer which cause they found, what work they propose and how you will check the result.
For an illustrative note, “left side seam, ripples from waist to 10 cm below, visible flat and standing, first noticed after alteration” is actionable. The 10 cm is a fictional example of how to record extent, not a threshold for repair. Keep the dress measurement sheet alongside the seam record rather than replacing either with a size label.
What should you check when collecting the dress?
Use the same undergarment, stance and ordinary movement as before. Inspect the repaired area and its neighboring seams without stretching them smooth. Ask whether the work changed the fit or care instructions. Keep the original photographs and the agreed repair scope so you can discuss any remaining ripple precisely. A successful repair should be judged on the actual garment and use, rather than a promise that every fabric can become perfectly flat.
Keep reading
 Guides
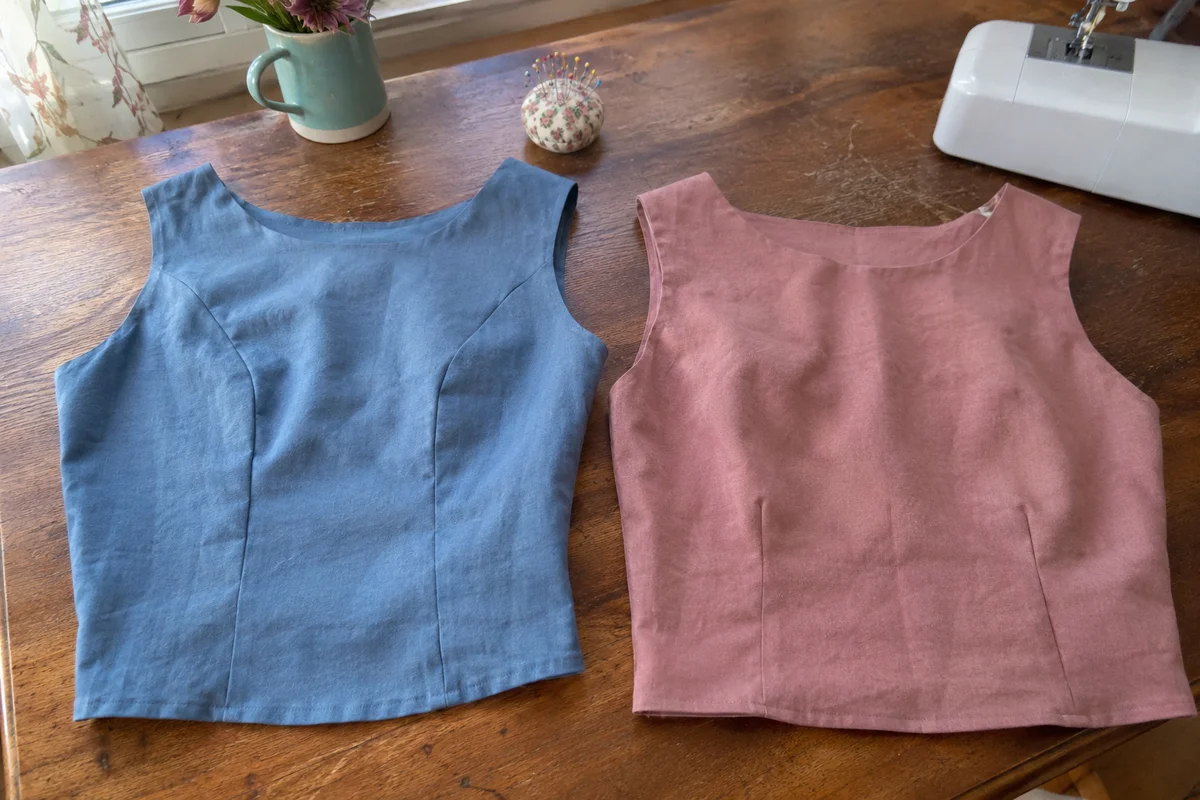
Princess seams and darts: identify the shaping in a dress
Compare princess seams and darts in a finished dress. Identify shaping lines, separate support details and prepare a clear question for a fitting.
 Guides
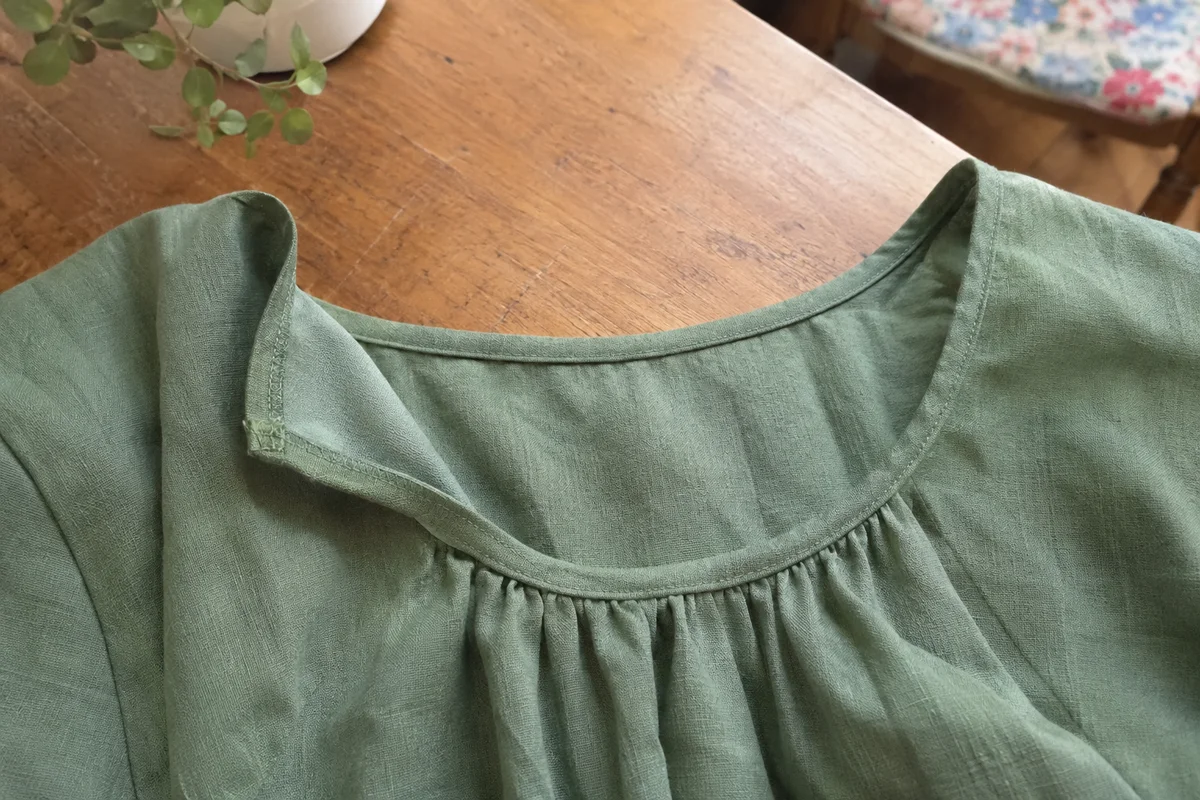
Understitching and topstitching in a finished dress
Compare understitching and topstitching in a dress. Identify the visible layers and describe a facing concern before choosing a garment-specific repair.
 Guides
How to Measure Yourself for Dresses and Jumpsuits
Measure bust, waist, hip and length correctly, then use the size calculator to find the size range to start with for dresses and jumpsuits.